Clothes Pin Snowflake Craft
I hope you love the products and resources I recommend here at A Little R & R. Just so you know, it is possible that I get a commission and collect income from the links on this page. Click here for more info.
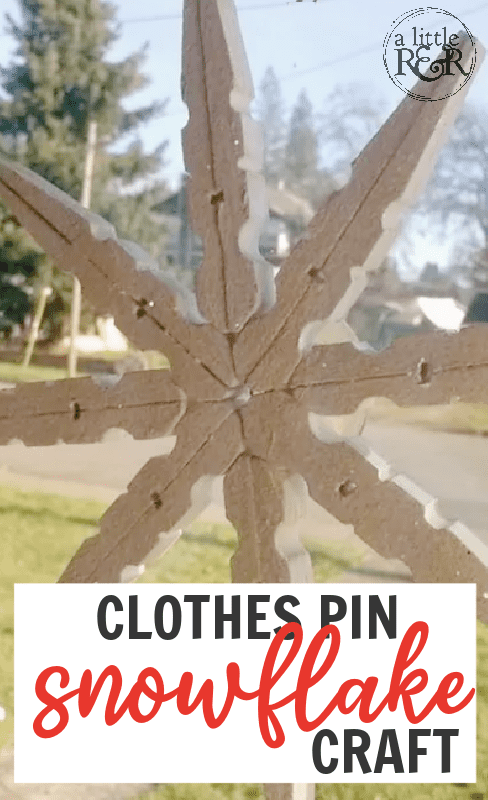
This is a fun winter craft to do with kid’s ages preschool and up. My kids (ages 3 and 4 years old) love to paint, so they enjoyed this craft. It’s also a fun craft to do by yourself.
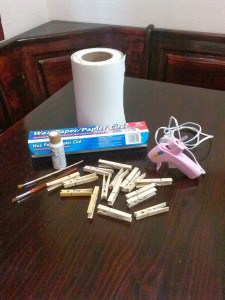
What you will need for one snowflake:
8 clothes pins
White paint with paint brushes
Glitter or glitter glue (your choice of color)
Glue gun
Paper (to protect your table)
Wax paper
Simple medium suction cup
Step one:
Take clothes pins apart (remove the metal spring)
Step two:
Glue the clothes pins “back to back”
Step three:
Place paper on table and paint all sides of the clothes pin then let dry on wax paper. If you use plain paper, the paper will stick to the wet paint. Wax paper will not stick.
Step four:
Once the paint is dry, place a drop of glue on the top corner of the head of a clothes pin then press another clothes pin head into the glue. Refer to photo for guidance.
Step five:
Once 4 clothes pins are glued together, glue the remainder 4 in each corner. Refer to photo for guidance.
Step six:
When all 8 clothes pins are glued together, then go ahead and have fun with the glitter!
Step seven:
Take the suction cup (remove the metal hook) and glue it to the middle of the back of the snowflake.

Turn over the snowflake.
And ta-dah! All done and ready for your wintery window. I love this because where we live we have to drive an hour or more if we want to see snow. We only get good snow about once every other year or so. So this decoration helps us see past our wet, rainy winter “wonderland”. I hope you enjoy this fun winter time craft.

A little about Tiffany:
Hello! I’m Tiffany. I have 4 beautiful kids, I don’t have a lot of down time to write, but I’ve always enjoyed writing. I write mostly about life. I enjoy God, my family and the company of good friends.










That looks like a lot of fun! And my girls are the right age to enjoy it. I’ll see if we can’t do that this week!
I hope you have fun with it! Tiffany did a great job with this one!!!
Looks like fun. Crafts do not come easily to me, so I am always thankful for people who share their ideas and know-how.
Very cute idea!! So many possibilities with the decorating of these. It would be a fun craft to try with my daughter. Thanks for sharing.
that looks like a simple enough craft doesn’t it?
I’m a lot the same way, Natalie. This is such a creative idea!
Yes there are, many possibilities. It’s very versatile and lovely!
It sure does look simple and so much fun!
Cute! Pinning this one! Thanks!
What a cute idea for a fun craft! We have an online Christian women’s magazine, Ruby for Women that is published quarterly. If you are interested in submitting some of your articles, blog posts, or craft ideas let me know and we can talk about the details. Stop by my blog at http://www.mamaslittletreasures.com where you can read the winter issue of the magazine, or visit the Ruby blog at http://www.rubyforwomen.com Hope to hear from you soon! Nina @ mamaslittletreasures and Ruby for Women
How fun! Pinning for later!
Thank you for pinning!!
Thank you for pinning, Brandy!!